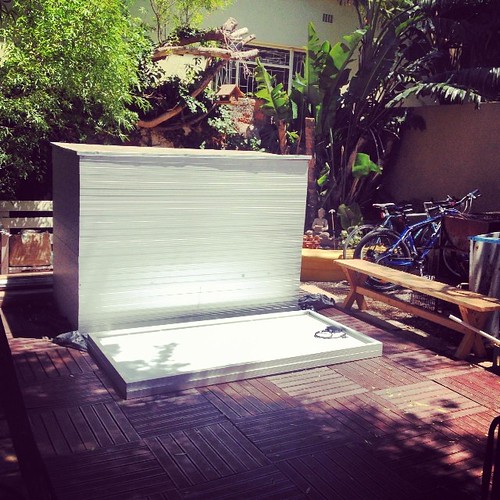
If you recall from my last update, I unpacked the Solar Panel crate, and moved the panels to the back garden. It does no good having a pile of panels in the garden, they need to be mounted!
Mounting is probably one of the lesser discussed area’s of installing Solar. Its almost an afterthought for most people, although it’s just as important as the rest of the system.
There are a few area’s of concern for mounting – first one is can your roof sustain the extra weight.
30 panels and mounting brackets will add another 850kg of weight onto the roof, albeit spread out over a large area. We had a look inside the roof, took some photos, and spoke to a structural engineer friend first – his take was that ours is an older victorian house, and as is quite common for older houses, its built reasonably well from substantial materials.
Essentially, its been quite substantially over-specced, and has more than enough beams for weight distribution, so there won’t be an issue.
Another major concern is wind. In Cape Town, its not uncommon to get extreme wind conditions – we’re not called the Cape of Storms for nothing! Any system used, needs to be sufficiently strong to withstand gale force winds on a semi regular basis, annually.
Our local conditions dictate that mounting needs to be extremely strong, as a flying panel can and *will* cause substantial damage. Surprisingly, given this, there are no real laid out Solar installation requirements, unlike other parts of the install, its quite unregulated.
There are no substantive national standards for mounting compliance, or local ones, other than the requirement that things mounted on the roof can stick out no more than 600mm. I asked City of Cape Town what their rules are and received this:
All PV roof top installations: No building plans are required to be submitted provided the panel(s) in its installed position does not project more
than 1,5 metres, measured perpendicularly, above the roof and/or not more than 600mm above the highest point of the roof.
This is quite permissive, and looks like its aimed more at Solar Heating, rather than Solar PV.
Our panels will be flat mounted on the roof at a total height of about 100mm (including panel), so we’re well within compliance.
I did a bit of research on some options, and went with something thats German designed, but produced in China, from a company called NiceSolar.
Nice Solar has a number of different mounting choices for various roof types – The first choice of what you’ll use is dictated by what type of roof you have; in our case, its a galvanised steel/zinc sheeting, as opposed to roof tile.
The mounting system I chose mounts directly into the roof beams via screws, and is composed of aluminium mounting brackets. Its reasonably well thought out, and simple to install. We had most of the bracket mounting done in 2-3 hours, with just 2 people, and that included carrying everything upstairs onto the roof, and the usual going up and down to get the extra tools that you need. Finding the roof beams was quite easy from the roof – we just had to follow the existing screws holding the sheets in place, and mount accordingly.
Initially when I opened the box of component parts shipped for the mounting system, I was worried, it all looked horribly complicated – lots of different pieces.
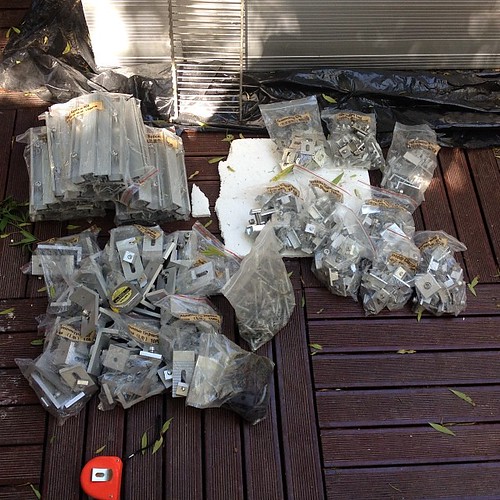
Turned out to be quite simple though.
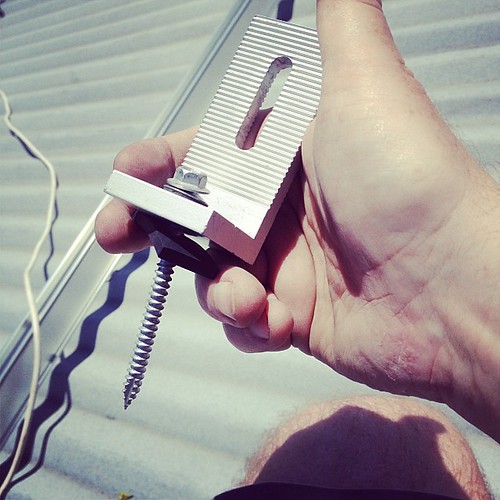
My system uses L shaped brackets to mount into the roof, then an aluminium mounting channel is screwed onto 3 brackets. Panels then sit on top of the mount and are held in place with a T piece or a C piece for ends. Mounting channels are joined together with a sliding clamp system.
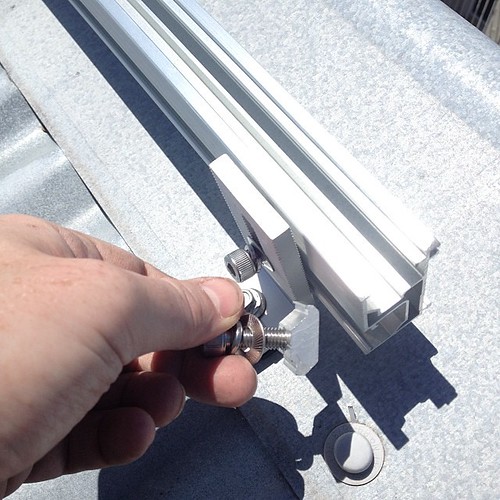
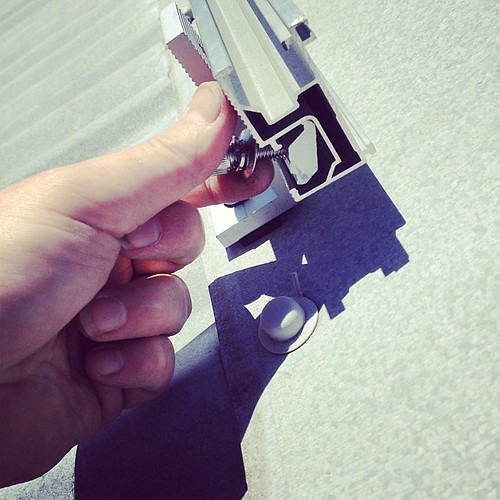
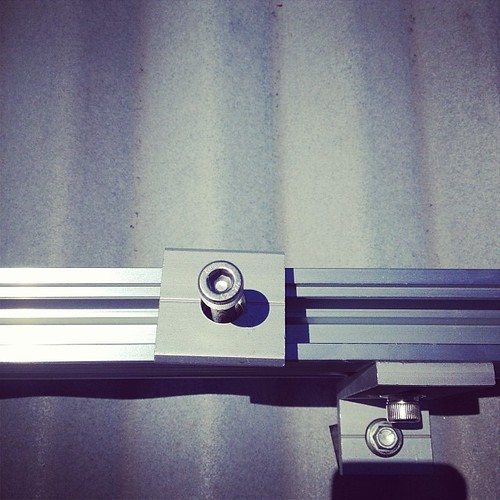
Below is a shot of a T piece, and the L shaped bracket in a mounting channel
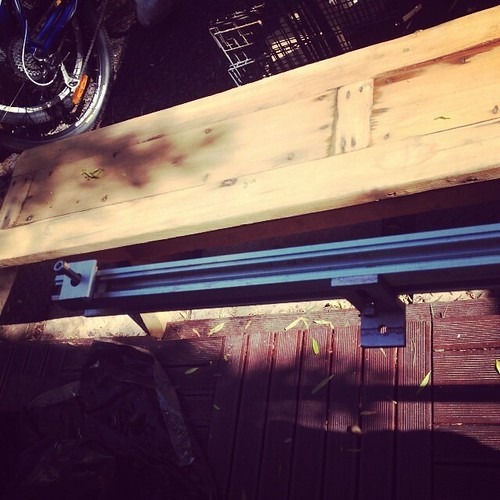
This is what the L shaped bracket looks like close up
My system needs 3 x L brackets per mounting channel, so the first thing we did was to setup a dummy channel with L brackets screwed in for sizing, and mark out our holes for drilling. You can see both in the shot below:
Unsuprisingly, this was the longest part of the job, as we had to think about and plan where the panels would go due to Chimneys, Skylights, Solar Hot water Heating and other obstructions getting in the way of a clean easy install.
Once we decided where things would go we went pretty fast.
You can see some of the L brackets already mounted below:
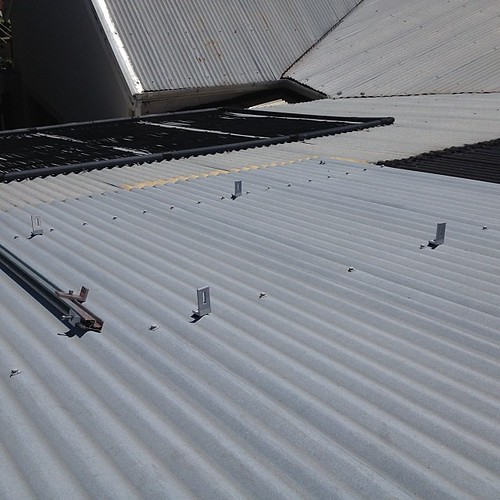
Once the L brackets were on, the next step was to mount the channels.
This is where my choice of system came in handy – mounting was a breeze!
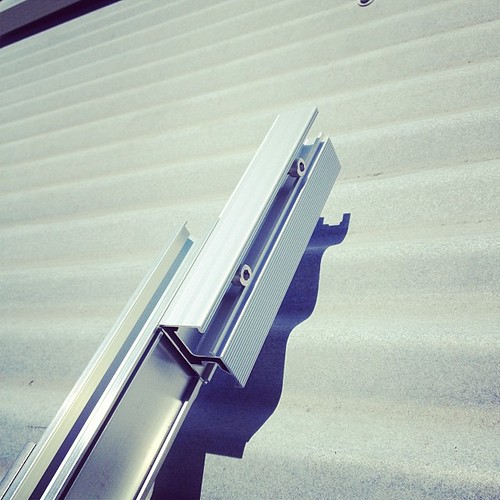
Below is a channel waiting to be screwed into the mounts
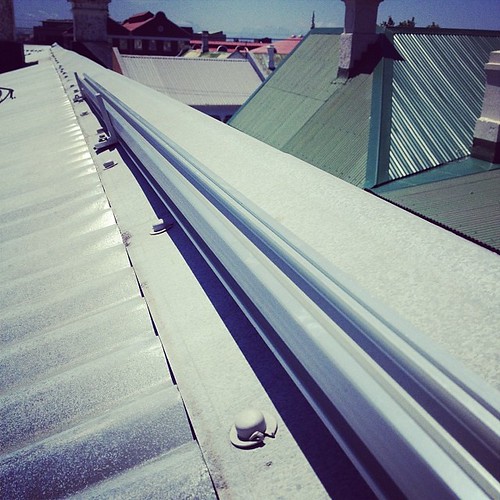
Its obvious that some thought went into the design, as there are some design concepts that integrate together cleanly, and ensure both a strong connection, and ease of mounting.
The L mounts, and the mounting channels are corrugated so that you get a tight fit, and the L brackets mounting screws angle into the channel from any location and lock into place.

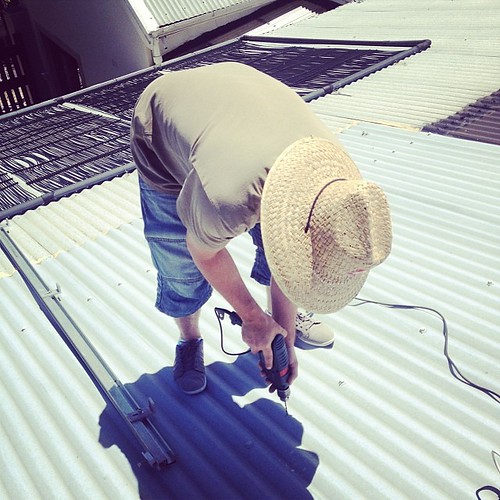
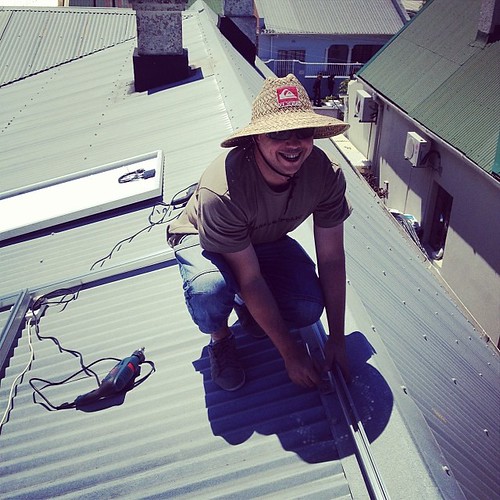
Below is a shot of one half of the install team in his farmer hat, busy fixing a channel onto the L mounts. Don’t forget the importance of protection from the sun when you’re on a roof!
Here’s the other half –

Once mounted, each channel was joined together with a slide in joiner bracket. This was a little fiddly, as some channels got slightly damaged in shipping and needed coaxing with a screw driver and pliers before we could slide them on. Luckily only 2 or 3 channels were affected. It was extremely minor damage though, and didn’t take us longer than a minute a channel to resolve.
Eventually, we had our mounting done, and had lines of mounting ready to roll

As you can see, we managed to drag one panel up onto the roof to test mounting.
I recommend involving additional friends and family if possible!
We brought our tools and equipment down, adjourned till the next day when we could rope in some rather reticent workforce, and continue.
The next day involved most of the hard labour – we had to carry 15 panels up onto our lower roof area, then from there up onto the roof.
Once we had a panel on the roof, we mounted it immediately using the T pieces, and things went rather rapidly.
T Piece, waiting for 2 panels –
Took another 3 hours to get to this point

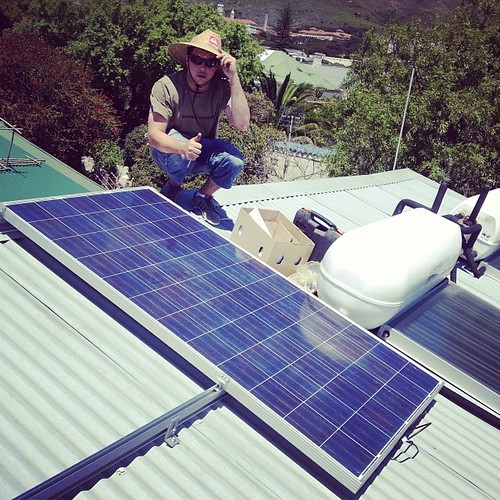
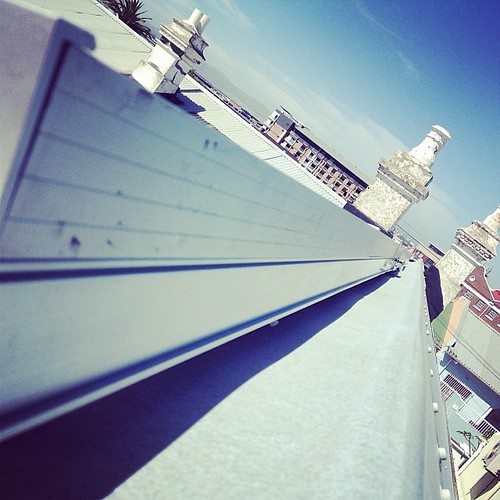
You can see the roof line with the panels mounted below. We made the executive decision to mount the end flush with the mounting, as we had concerns about leaving a lip for the wind to get under. The way its mounted should negate that issue for the highest area’s. Cape Town has substantial wind conditions, and this needed to be addressed.
We’ll be inspecting the mounting in a day or so, then in a few weeks to ensure that the mounting is still secure, and there are no issues. Today has been fairly windy, but I’ll be on the roof tomorrow for final inspection, and hookup.
We’re still not live, as I haven’t hooked up the panels yet.
Why?
For safety reasons.
The panels haven’t been connected together, as they shouldn’t be connected while live.
As they’re live when there’s sun, I’ll need to go up at dusk or early evening to connect up.
I also still need to run DC cables to the roof from the Solar Board.
The astute among you will have noted that there are only 16 panels on the roof currently.
Well spotted!
The other side of the roof is at an extreme angle, and we’ll need to hire safety harnesses, and possibly a scaffold. Due to that, I’ll be hooking those up at a later date, so will only have half the system up and running this week.
I’ll be running the panels in 2 x 15 sets (strings).
Each string will be running at 562.5v @ 8A for a total of 4500W per string.
(Panels are 37.5v @ 8A / 300W each nominal voltage)
My inverter has MPPT inputs for 2 separate strings, so this works out nicely.
A voltage of 562v is also under its maximum of 1000v per string.
If everything goes well today, and I get time to install the cabling, and hookup the panels early evening, I’ll be able to test the system on Tuesday morning, when the sun rises.
The inverter won’t power up until it see’s at least 300v DC from its inputs, so I’ll need to wait till about 6am when there is sufficient sun to see my creation come to life!
Lastly –
Many thanks to my cousin Joel for his assistance in mounting all of this on the roof, to Wesley for taking a look at the cabling to double check I haven’t done anything silly, and to Angie & my brother Jerome for their assistance in getting the panels on the roof.
![]()